
Volcano hiking travel guide readers usually want one thing: a plan that feels exciting without feeling reckless. Volcano trails can be straightforward day hikes or high-consequence climbs where weather, loose rock, and park rules decide your margin for error.
If you do a little homework up front, you get more than safety, you get a better trip, fewer surprises at the trailhead, and a realistic sense of what “adventure” means for your fitness, time, and comfort with exposure. A volcano is not just a mountain with a view, it can be an active landscape with closures, gas advisories, and rapidly changing conditions.
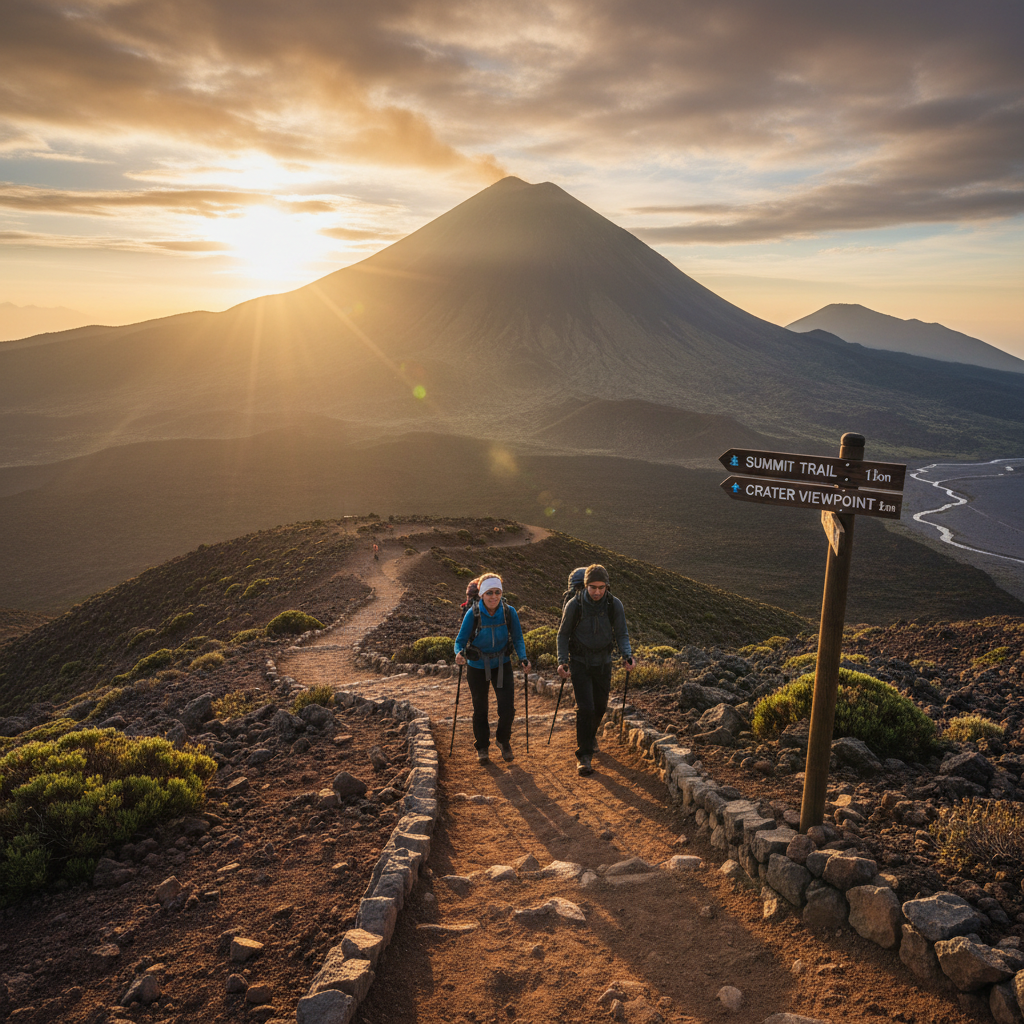
A common mistake is treating volcano hikes like any other scenic trail and relying on vibes plus a weather app. This guide keeps it practical: how to pick a route, what to pack, how to read conditions, and when to turn around without feeling like you “failed.”
Choose the right volcano hike (difficulty, access, and rules)
Not every volcano is a summit push, and not every summit is legal, open, or smart on your dates. Your best trip often comes from matching the route to your constraints, not from chasing the most famous name.
- Active vs. dormant: Active areas may have closures, gas warnings, or reroutes; dormant peaks still have loose scree, exposure, and weather issues.
- Trail type: maintained park trail, unmaintained route, lava field traverse, snow/ice climb, or guided-only zone.
- Access: road conditions, permits, shuttle systems, reservation windows, and seasonal gate closures.
- Altitude: even moderate mileage can feel harder above 8,000–10,000 ft for many U.S. travelers.
According to the National Park Service (NPS), staying on designated trails and respecting closures is critical in volcanic terrain where hazards can be invisible or change quickly.
Know the hazards that make volcano hiking different
Volcano hikes can be deceptively normal until they are not. The main risks are less about “lava” and more about terrain and conditions that punish small mistakes.
Common hazards to plan around
- Loose scree and ash: footing slides, downhill fatigue increases, and ankles take a beating.
- Rockfall: especially in gullies, below cliffs, and on popular scramble lines.
- Gas and air quality: sulfur dioxide or volcanic smog can irritate lungs; people with asthma may need extra caution and a clinician’s advice.
- Heat and reflected sun: black lava rock radiates heat; dehydration sneaks up faster than in forest trails.
- Rapid weather changes: clouds and wind can slam visibility, especially on exposed ridges and crater rims.
According to the U.S. Geological Survey (USGS), volcanic areas can pose multiple hazards beyond eruptions, including gas emissions and unstable ground, and conditions vary by site and alert level.
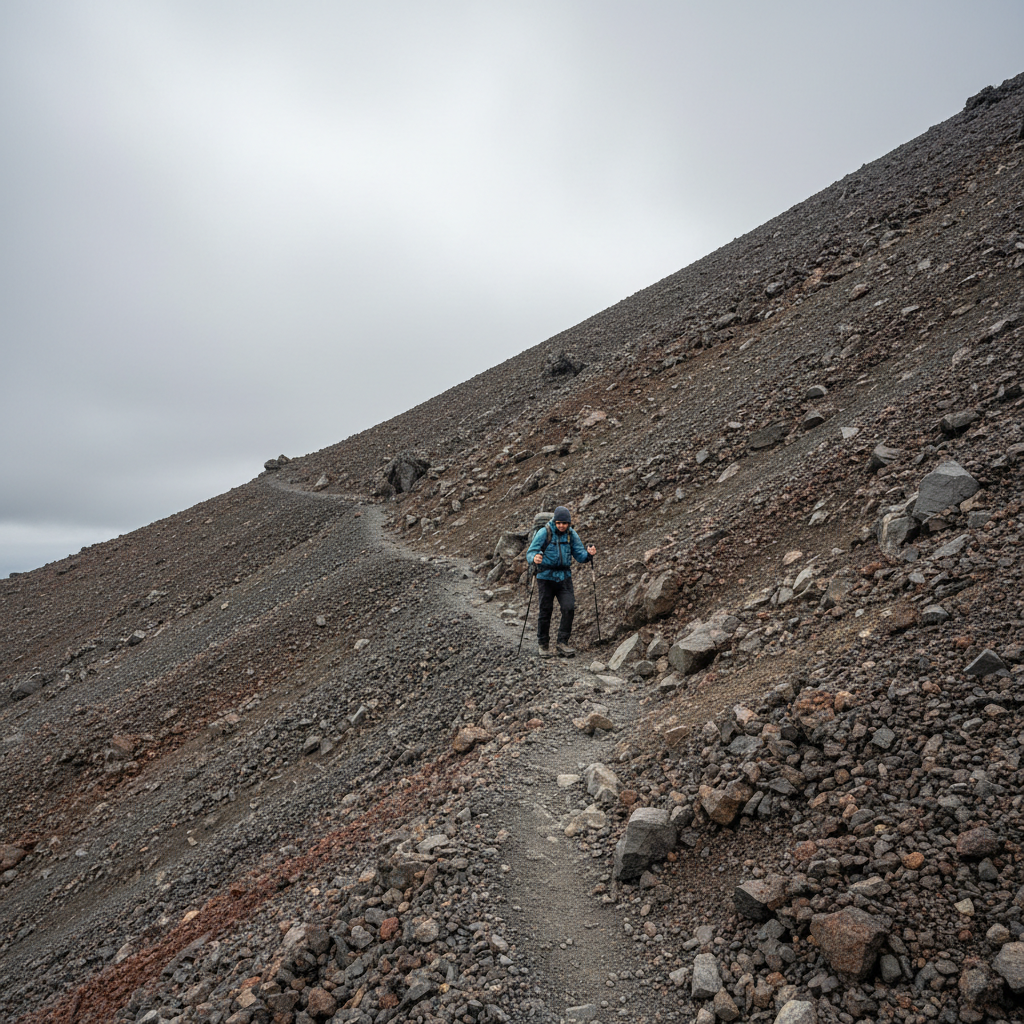
One more reality check: some “volcano hikes” are actually glacier routes seasonally. If your route crosses snowfields where a fall would slide into rocks, it’s no longer a casual hike, even if the mileage looks friendly.
Quick self-check: are you ready for this route?
Use this as a blunt pre-hike filter. If you’re saying “maybe” to multiple items, pick an easier route or go guided.
- Fitness: you can comfortably hike 6–10 miles with elevation gain similar to your planned day.
- Footing: you have experience on loose rock, and you know how to descend without rushing.
- Navigation: you can follow a GPX track offline and recognize when you’re off-route.
- Weather tolerance: you have layers for wind and cold even if the forecast looks mild.
- Time discipline: you’re willing to turn around if you miss a turnaround time.
- Health considerations: any heart, lung, or altitude concerns get cleared with a medical professional if needed.
Key point: most volcano-hike incidents start as small, ordinary problems, late start, low water, wrong layer, and then the terrain amplifies them.
Practical planning steps (permits, timing, and logistics)
This is where a volcano hiking travel guide earns its keep. Planning is less romantic than summit photos, but it’s the difference between a smooth day and a stressful one.
Before you book anything
- Check official sources first: park/forest websites for closures, required permits, and seasonal notes.
- Look for route-specific trip reports: especially for scree stability, snow patches, and water availability.
- Build a conservative schedule: start earlier than you think, volcano trails often have minimal shade and big exposure.
Simple timing rule that works
- Set a hard turnaround time based on daylight, weather windows, and your descent speed, then honor it.
- Plan for descent to take longer on loose terrain, even if the climb felt easy.
According to the National Weather Service (NWS), conditions can change rapidly in mountainous terrain, and checking updated forecasts before and during travel helps reduce risk.
What to pack for volcano hikes (table + quick list)
You don’t need an expedition kit for every volcano, but you do need the right basics. Volcano environments can punish underpacking more than forest trails.
| Category | What to bring | Why it matters on volcano terrain |
|---|---|---|
| Footwear | Trail shoes or boots with strong tread, gaiters optional | Loose ash and scree reduce traction and chew up ankles |
| Hydration | More water than usual, electrolytes | Heat + wind + dark rock can accelerate dehydration |
| Navigation | Offline map/GPX, power bank | Trails can be faint across lava fields or in fog |
| Layers | Wind layer, warm midlayer, sun protection | Exposed ridges swing from hot sun to cold wind fast |
| Safety | Headlamp, first aid basics, whistle | Late descents happen often when footing slows you down |
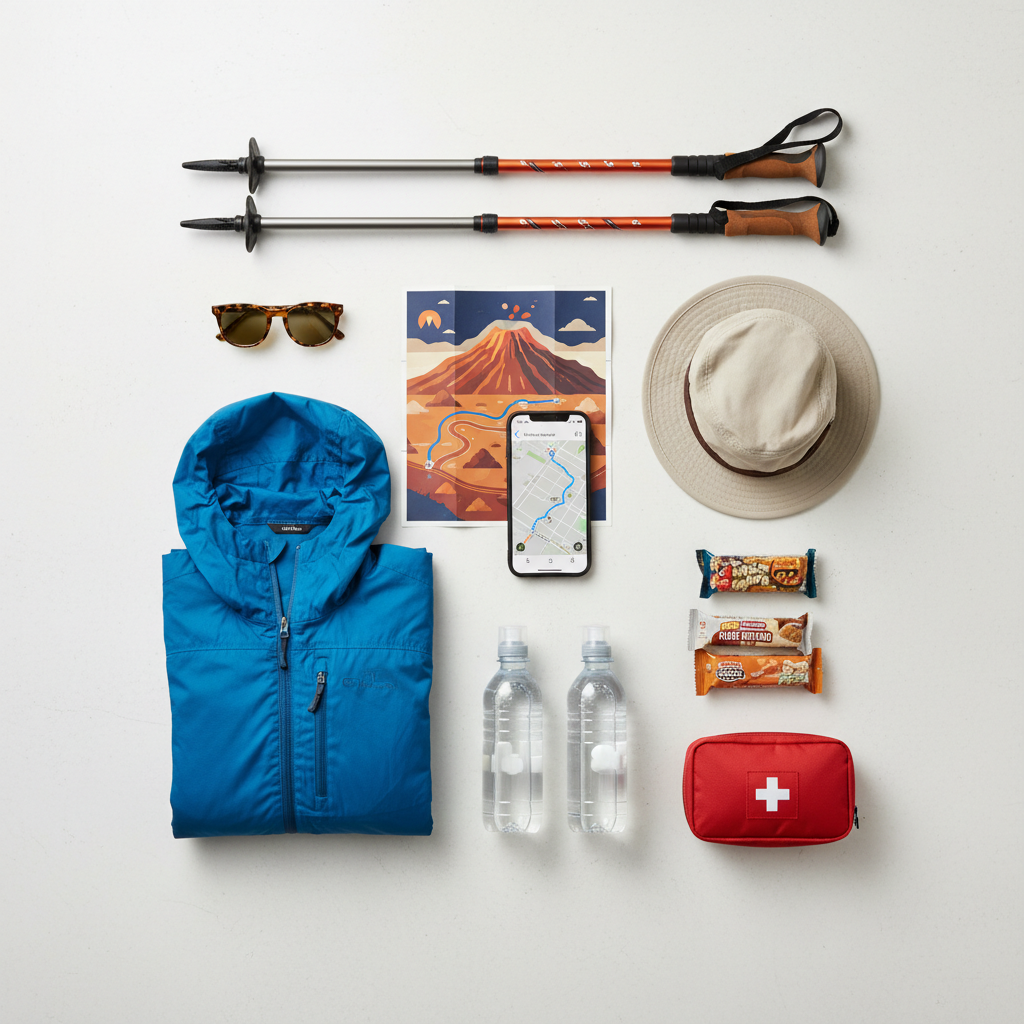
Volcano day-hike essentials checklist:
- Sun hoodie or long sleeves, sunscreen, sunglasses
- Trekking poles for scree descents
- Light gloves if you expect sharp rock or wind chill
- Snacks you can eat even when you feel slightly nauseated at altitude
If gas or dust is a known issue in your area, a well-fitted mask may help some people, but it’s not a substitute for avoiding hazardous air. If you have respiratory conditions, it’s smart to consult a medical professional before committing.
On-trail execution: pacing, navigation, and “turn around” triggers
Most people don’t blow up on the climb, they blow up because they treat the climb as the whole workout. On volcano terrain, the descent can be the most demanding part.
Pacing that keeps you out of trouble
- Keep your effort at a level where you can speak full sentences, especially early.
- Eat and drink on a schedule, not “when you feel it.”
- On scree, shorten your stride, plant poles, and accept slower progress.
Clean navigation habits
- Confirm you’re on-route at every major junction, ridge change, or terrain transition.
- If visibility drops, stop and verify rather than “wandering until it looks right.”
- Share your plan with someone off-trail, including your expected return time.
Turnaround triggers worth respecting
- Thunder, strong wind gusts, or building storm clouds
- Headache, dizziness, unusual fatigue that does not improve with rest and fluids
- Route-finding confusion that keeps repeating
- Rockfall activity nearby, or you’re forced into fall-line gullies
According to the Centers for Disease Control and Prevention (CDC), heat-related illness and dehydration are preventable with hydration, pacing, and recognizing early symptoms, which matters on exposed volcanic slopes.
Common mistakes (and what to do instead)
These are the patterns that show up again and again, even among experienced hikers, because volcano trails feel unique and people underestimate the details.
- Mistake: planning water like a forest hike. Do instead: carry extra and add electrolytes, especially in dry wind.
- Mistake: trusting a single app forecast. Do instead: check mountain-specific forecasts and ranger updates when available.
- Mistake: chasing the rim edge for photos. Do instead: stay back from unstable crater lips and obey barriers.
- Mistake: late starts. Do instead: treat sunrise as a feature, not a sacrifice, the light is better anyway.
Key point: “I’ll just be careful” is not a strategy when terrain is loose and consequences are high. Build margin with time, water, and conservative decisions.
When to consider a guide or expert help
Guided trips are not only for beginners. They can make sense when the route involves seasonal snow, technical scrambling, complex permits, or uncertain conditions.
- You’re attempting a snow route and lack self-arrest or crampon skills.
- The area has active alerts, closures, or confusing boundary rules.
- You’re new to altitude and unsure how your body responds.
- You’re traveling solo and want an added layer of decision support.
If you’re unsure about volcanic gas exposure, altitude effects, or a pre-existing condition, getting advice from a qualified professional is the safer move than testing it on a remote trail.
Wrap-up: make it adventurous, not improvisational
A good volcano hike feels bold because the landscape is raw, not because the plan is shaky. Use this volcano hiking travel guide to choose a route that fits your reality, pack for exposure, and decide ahead of time what “turn around” looks like.
If you want one action to take today, pick your target trail and read the official land manager page for it, then build your packing list and turnaround time around what that page actually warns about.
FAQ
What is the best season to use a volcano hiking travel guide in the U.S.?
It depends on the specific volcano and elevation. Many popular U.S. volcano hikes are most straightforward in summer and early fall, while shoulder seasons can mean snow patches, icy mornings, or road closures that change the difficulty.
Do I need permits for volcano hikes?
Many areas do, especially in national parks or heavily managed wilderness zones. Always check the official park or forest site because permit rules and reservation systems can change year to year.
Are active volcano hikes safe?
They can be, when routes are open and you follow closures and advisories. The risk profile varies a lot by location, current alert level, and whether hazards include gas, unstable ground, or limited evacuation options.
How do I train for hiking on loose scree?
General hiking fitness helps, but the biggest difference comes from downhill conditioning and ankle stability. Practice on smaller loose trails first, use trekking poles, and focus on controlled steps rather than speed.
What should I do if I smell sulfur on the trail?
Move to a place with clearer air and reassess rather than pushing through. If symptoms like coughing, chest tightness, or headache build, turning around is reasonable, and people with respiratory issues should be extra cautious.
Is volcano hiking okay for beginners?
Some volcano trails are beginner-friendly, especially well-maintained routes with modest elevation gain. The trick is choosing the right objective, not the most famous one, and being honest about fitness and comfort with exposure.
Can I bring kids on a volcano hike?
Often yes on easier, maintained trails, but crater rims, steep scree, and exposed ridges raise the stakes. Pick routes with clear trail boundaries, shorter mileage, and plenty of turnaround options.
What’s the most overlooked item on volcano hikes?
Water planning is the big one, followed closely by wind protection. Even on warm days, exposed slopes can get surprisingly cold and windy, and that’s when small discomfort turns into poor decisions.
If you’re planning a trip and want a more streamlined approach, it may help to map your hike options into a simple checklist, permits, weather window, water plan, turnaround time, then share it with a hiking partner so the day stays fun rather than chaotic.