
The best travel tripod for phone camera use is the one you’ll actually carry, sets up fast, and stays steady when the light gets tricky.
If you’ve ever tried a sunset shot and watched your phone slowly droop, or packed a “travel” tripod that still felt bulky, you already know the problem isn’t finding a tripod, it’s finding the right mix of stability, weight, and speed for how you shoot.
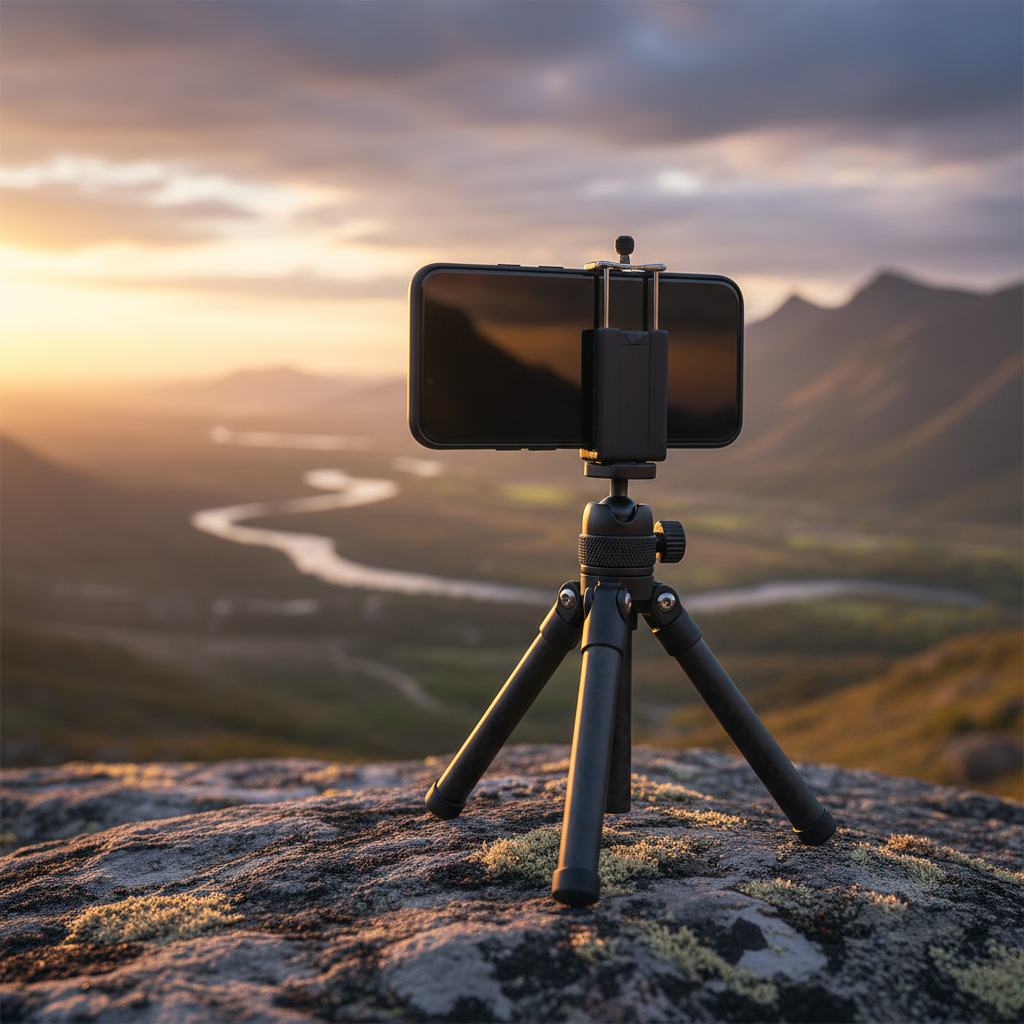
This guide focuses on what matters in 2026 phone shooting: MagSafe and clamp mounts, windy viewpoints, quick social video, and occasional long-exposure night shots. You’ll also get a quick-fit table and a checklist so you can decide in a few minutes.
What “best” means for a phone travel tripod in 2026
Phones keep getting better, but they also keep getting heavier, especially with cases, lens attachments, and mics. So “best” usually comes down to three things: stability, portability, and how quickly you can shoot.
- Stability: leg rigidity, wider stance, decent head, and a mount that doesn’t twist.
- Portability: folded length and weight matter more than the marketing label “travel.”
- Speed: easy height changes, fast phone mounting, and no fiddly knobs when you’re on a sidewalk.
One more reality check: if you regularly shoot in wind, near water, or on uneven trails, you’re often better off with a slightly heavier setup than the lightest option.
Common tripod types (and what they’re actually good at)
Most choices fall into a few categories, and each solves a different annoyance.
Mini tabletop tripods
Great for cafes, hotel desks, and quick talking-head clips, but limited height means you’ll rely on surfaces. They’re also easier to tip if you’re using a heavier phone with accessories.
Flexible “gorilla” legs
These shine when you need to wrap around railings or tree branches. The trade-off is that they can sag over time, and you’ll feel every bit of wind vibration in video.
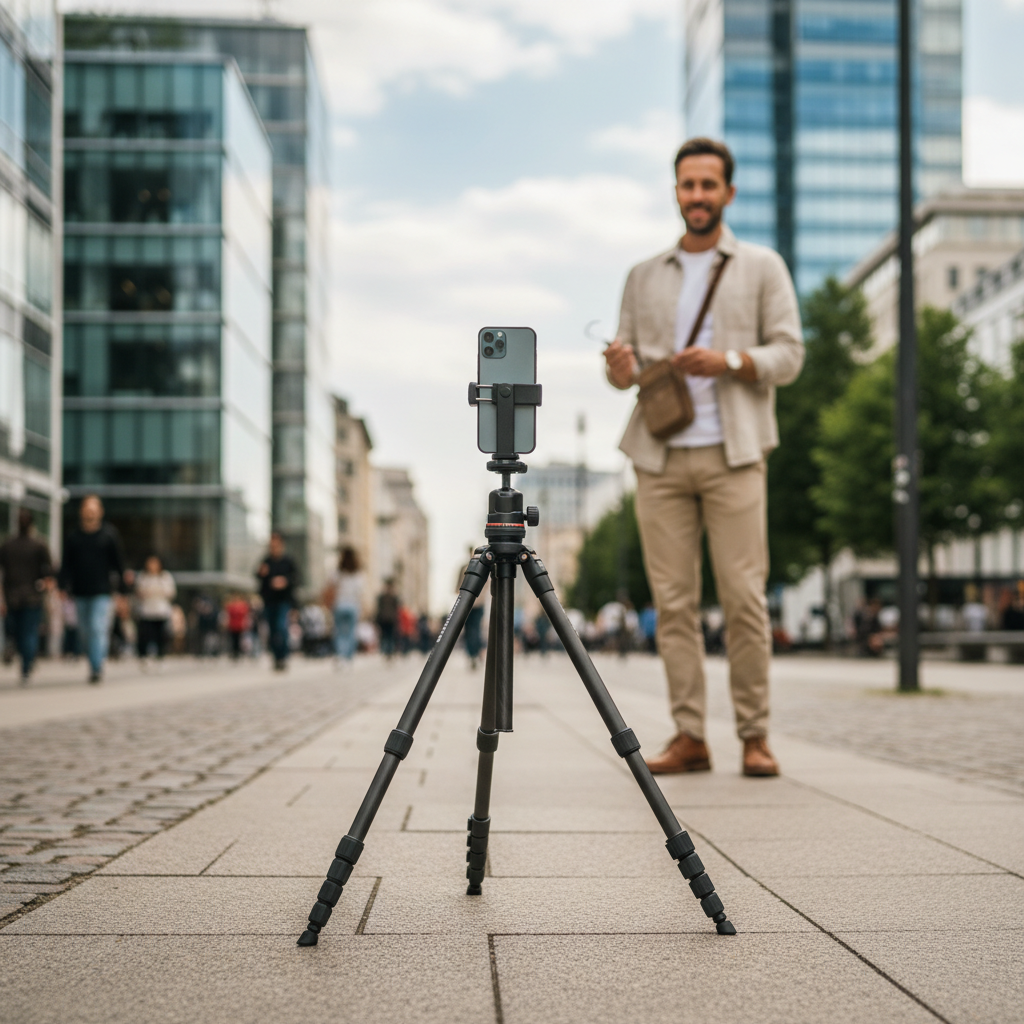
Compact full-height travel tripods
This is where most people land for trips. You get real height and better stability, but you need to watch folded length and the quality of the head.
“Travel” monopods and selfie-stick tripods
Perfect for fast vlog-style travel, crowded sidewalks, and creator content. They’re usually less stable for night shots, and some have wobbly feet.
Quick comparison table: match a tripod to your travel style
If you just want direction, use this to narrow down the right style before you shop specific models.
| Travel style | Recommended tripod type | Why it fits | Watch out for |
|---|---|---|---|
| City + social video | Selfie-stick tripod or compact full-height | Fast setup, quick framing | Wobble at max height |
| Landscape + sunsets | Compact full-height travel tripod | More stable, better horizon leveling | Heavier in daypack |
| Hikes + uneven ground | Compact full-height with decent leg locks | Adjustable legs, better stance | Cheap twist locks slipping |
| Night photos (long exposure) | Compact full-height + stable head | Less vibration, smoother tilt | Phone clamp twisting |
| Ultra-light packing | Mini tripod or flexible legs | Small and easy to stash | Limited height and stability |
How to choose: the specs that matter (and the ones that don’t)
Tripod listings can be noisy. Here’s what tends to make or break a phone setup in real travel use.
- Real working height: maximum height is less important than the height you can use without a skinny center column fully extended.
- Folded length: if it can’t fit in your carry-on or strap cleanly to a daypack, you’ll leave it behind.
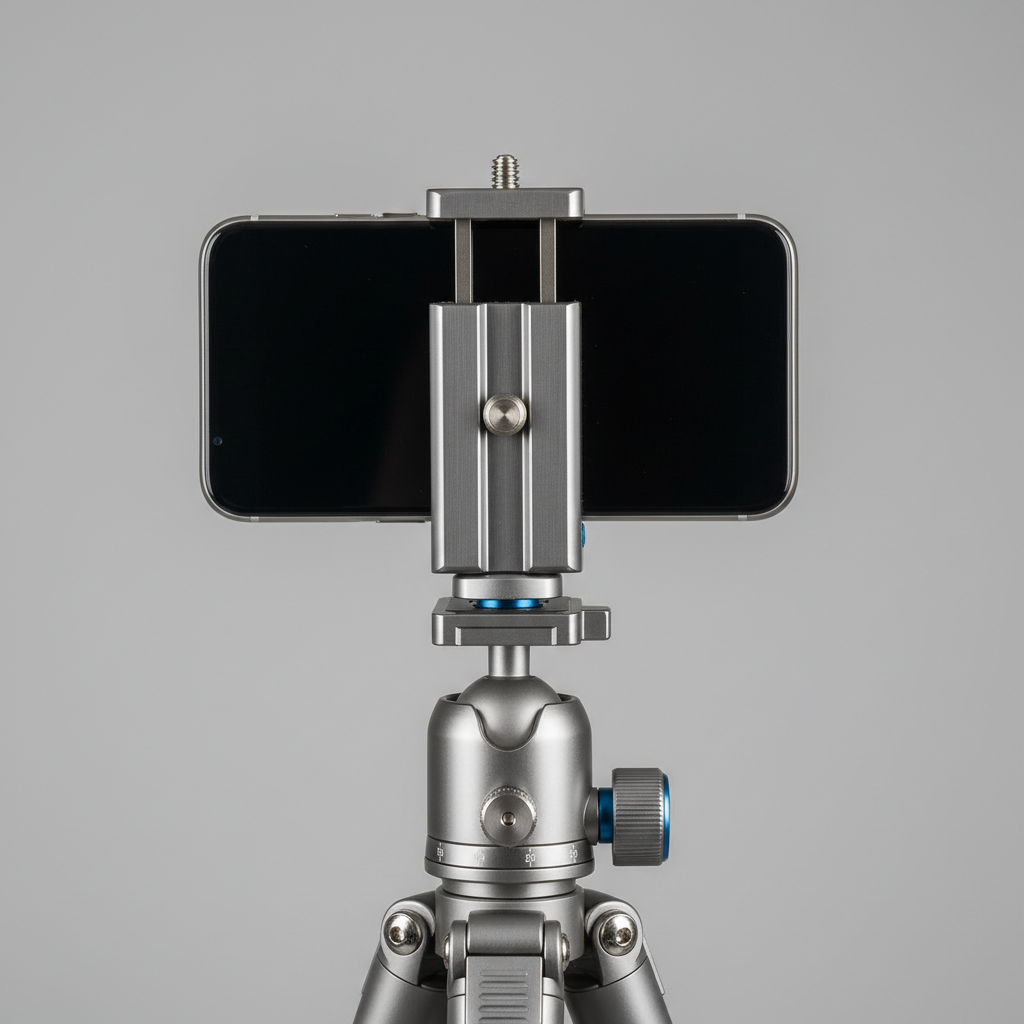
- Head quality: for video, a simple fluid-style head often feels smoother than a cheap ball head; for photos, a solid ball head is usually fine.
- Phone mount: look for a clamp with rubber grip and anti-twist design, or a MagSafe-style mount with a safety strap for busy areas.
- Leg locks: flip locks are fast, twist locks can pack slimmer, but they must hold under load.
- Load rating: treat big numbers cautiously, what matters is whether the legs and head stay rigid with your phone plus accessories.
According to the Federal Aviation Administration (FAA), spare lithium batteries must be carried in carry-on baggage with terminals protected, so if your tripod kit includes lights or battery grips, plan packing accordingly and confirm your airline rules.
Self-check: pick the right setup in 2 minutes
If you answer these honestly, you’ll usually know which direction to go, and you’ll avoid overbuying.
- Do you shoot night scenes? If yes, prioritize a sturdier full-height travel tripod and a more stable head.
- Do you mostly post vertical video? Make sure the mount supports quick portrait switching without loosening everything.
- Will you add a mic or light? Look for an extra cold shoe or a small rig-style adapter, otherwise your setup becomes a balancing act.
- Do you hate fiddling? Favor quick locks and a simple head, “feature-rich” often means slower in practice.
- Do you travel in wind or on cliffs? Weight and stance beat minimalism, and a hook for a small bag helps.
Practical setup steps for sharper phone photos and smoother video
This is where most people get extra quality without buying anything new. A best travel tripod for phone camera setup still needs a few habits to stay steady.
For photos (including night shots)
- Use a timer or remote: even a 2-second timer reduces shake.
- Stabilize the legs: keep the center column lower, widen the stance, and avoid the “all legs skinny and tall” look.
- Add gentle weight: hang a small bag from the hook if the tripod supports it, but keep it from swinging.
- Lock focus and exposure: on iPhone and many Android camera apps, press-and-hold to lock, then adjust exposure.
For video
- Level first: a small bubble level or built-in horizon tool saves time in editing.
- Pan slowly: phone stabilization can fight fast moves, slower pans usually look cleaner.
- Portrait changes: switch orientation using the mount mechanism, not by loosening the head and hoping it holds.
Mistakes that waste money (and how to avoid them)
Tripods are easy to buy twice. These are the patterns that show up a lot.
- Choosing only by weight: ultra-light is nice until wind turns your footage into jitter.
- Ignoring the mount: a great tripod with a weak clamp still fails, the phone rotates and you keep re-framing.
- Maxing the center column: it adds height but also flex, use it when you must, not by default.
- Expecting “one tripod” for everything: if you do both vlogging and long-exposure night photos, you may need a travel tripod plus a tiny tabletop option.
So what’s the best travel tripod for phone camera in 2026?
For many travelers, the sweet spot is a compact full-height travel tripod with a dependable head and a phone mount that resists twisting. It’s the most flexible option: stable enough for night cityscapes, tall enough for portraits, and still realistic to pack.
If your content is mostly short-form video and you value speed over perfection, a selfie-stick tripod style can feel better day-to-day, just don’t expect it to behave like a heavier tripod when you push height or shoot in wind.
Action you can take today: write down your heaviest phone setup, decide whether night shots matter, then pick the tripod type from the table and spend extra attention on the mount and head. That’s usually where “cheap” becomes frustrating.
If you need a simpler decision rule, choose the smallest tripod you’ll still trust for a 10-second night exposure, that’s often the right balance for travel.